Earlier this year, OMIA Studio soft-launched — and since then, it’s proven to be a one-stop shop for UI/UX designers and frontend developers alike. So I decided to put it to the test by building something practical: a chat application.
Now, a chat app might not be the holy grail of utility software — but it does present a meaningful challenge. It involves handling dynamic UI updates and real-time communication via sockets — the perfect test for OMIA’s capabilities.
Here’s how I did it.
Prerequisite
- Basic knowledge of Python
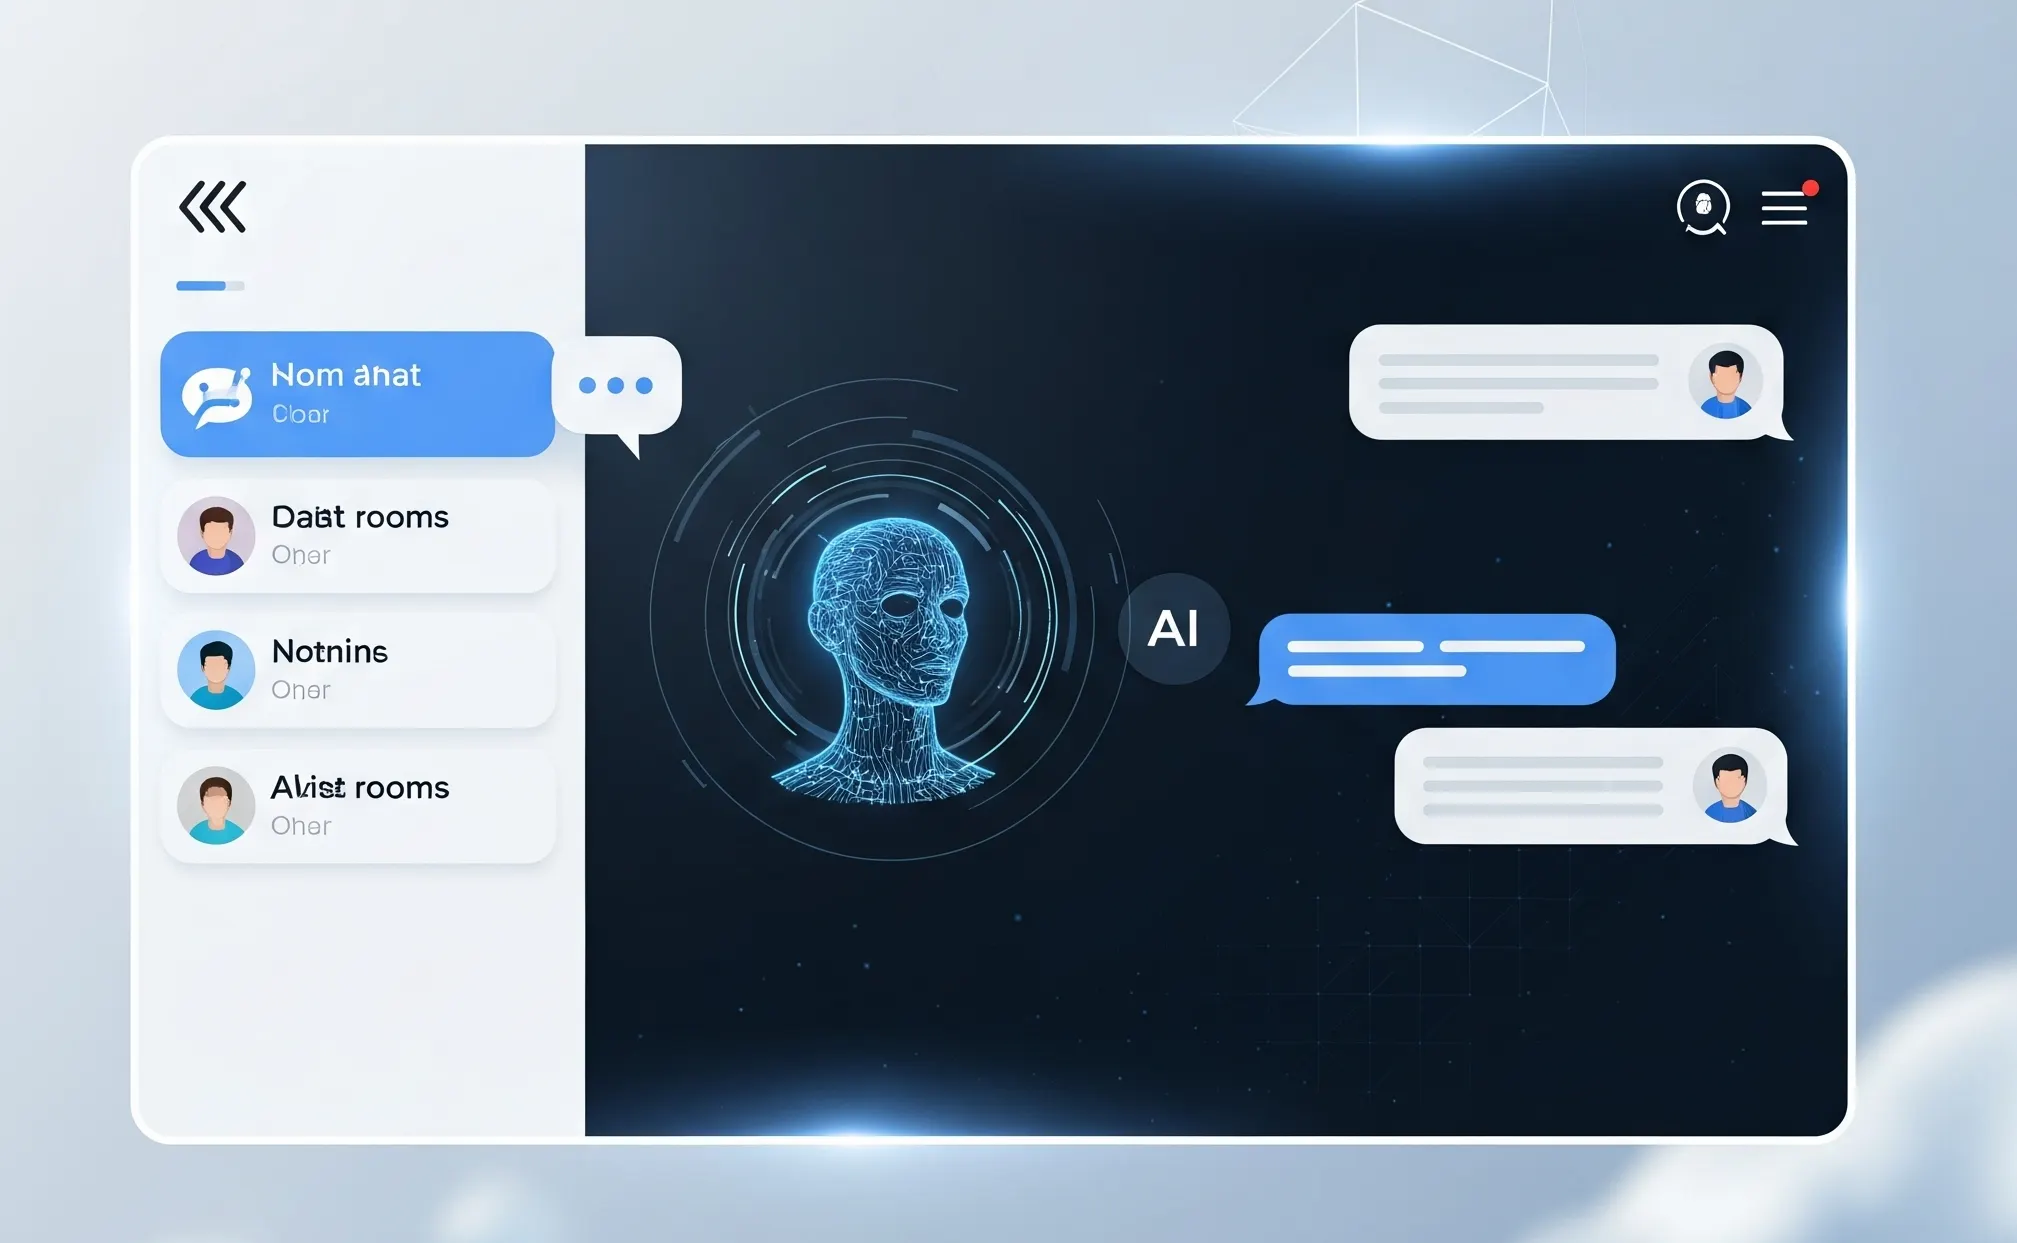
Step 1: Build the Chat Screen
OMIA makes it easy to start with prebuilt screens. Just head to the top selection bar and select one.
Choose the Chat Screen from the template options. You can use it as-is or customize the layout to your preference.
The prebuilt chat screen contains a simple column adapter and a chat widget element to dynamically populate the list as the chat proceeds.
Step 2: Set Up a Simple Chat Server
We’ll set up a simple local server in Python that acts as our chatbot. We’ll use the lightweight Flask framework to handle HTTP requests.
Our bot will accept messages via POST requests and respond with a random reply from a preset list.
Server Code (Flask)
from flask import Flask, request, jsonify
  import random

  app = Flask(__name__)

  # Predefined list of bot responses
  bot_responses = [
      "Hello there!",
      "How can I help you today?",
      "That's interesting!",
      "Can you tell me more?",
      "I'm just a bot, but I'm listening.",
      "Let's talk about something fun!",
      "I didn't quite catch that, can you rephrase?",
  ]

  @app.route("/chat", methods=["POST"])
  def chat():
      user_message = request.json.get("message", "")
      if not user_message:
          return jsonify({"error": "No message provided"}), 400
      # Pick a random bot response
      response = random.choice(bot_responses)
      return jsonify({"response": response})

  if __name__ == "__main__":
      app.run(debug=True, port=5000)
Running the Server
- Save the code in a file, e.g., chatbot_server.py.
- Install Flask if needed:
pip install flask- Run the server:
python chatbot_server.pyOnce the server is running, it will be accessible at http://127.0.0.1:5000/chat. This URL is where you’ll send your POST requests containing the user’s message.
Tip:
Take note of the server URL and port — especially if you plan to connect it with the OMIA code or any frontend later.
Step 3: Write the Chat Logic in OMIA
OMIA Studio runs as a PWA on your local machine. Hence, it has access to local URLs. It uses a custom event-driven framework that lets you wire up app logic right in the code editor. Here’s what we need to do:
- Set up a click handler for the send button
- Update the adapter list with user chat and response messages
First, get a reference to the send button and send the input text to the server.
Step 4: Preview and Test
Click the Preview button in the OMIA Studio toolbar to launch the live preview.
Make sure you set the Chat Screen as the entry point, and you’ll see your chatbot in action.
Step 5: Deploy (Optional)
Once you’re happy with the build, you can deploy it as a web app, mobile app, or desktop app — right from OMIA. Just follow the deploy instructions in your dashboard.
Add More Features!
- Timestamps
- Typing indicators
- Scrollable chat history
- Multiple bot personalities
- User authentication
The OMIA code editor and Ginni framework make it easy to scale up your functionality.
Building in OMIA Studio isn’t just about dragging and dropping — it’s about creating functional, responsive, production-ready apps with minimal friction and maximum flexibility.
If a chat app is this easy to build, imagine what else you can create.
Merry Builds 🚀